

You know a good picture of your child when you see it. Perhaps it was the one taken on an autumn afternoon at the park, with your child’s smiling face framed by vibrant fall foliage. Maybe it’s a shot of your child doing something totally “her” — grinning mischievously as she steals a cookie, or jumping into a mud puddle.
But how do you capture those evocative moments? Here’s a rundown of our top tips.
What to Shoot
Take some “everyday” photos. Don’t let years go by with only pictures of Christmas mornings and birthday parties. Pick an ordinary day, when nothing special is going on, and take a few shots. (I actually put it on my calendar for the first of every month.)
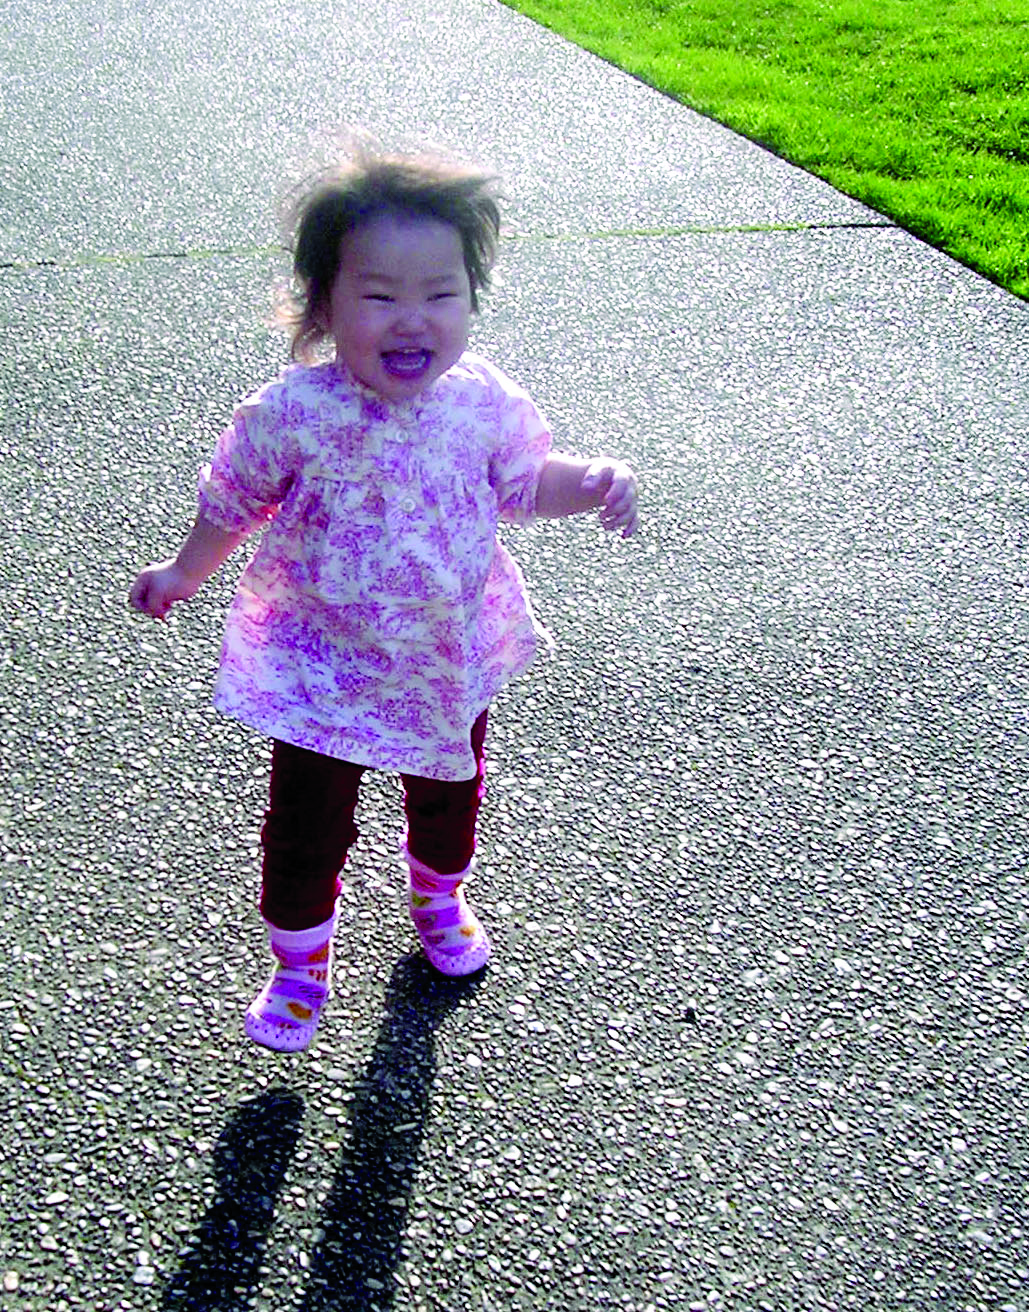
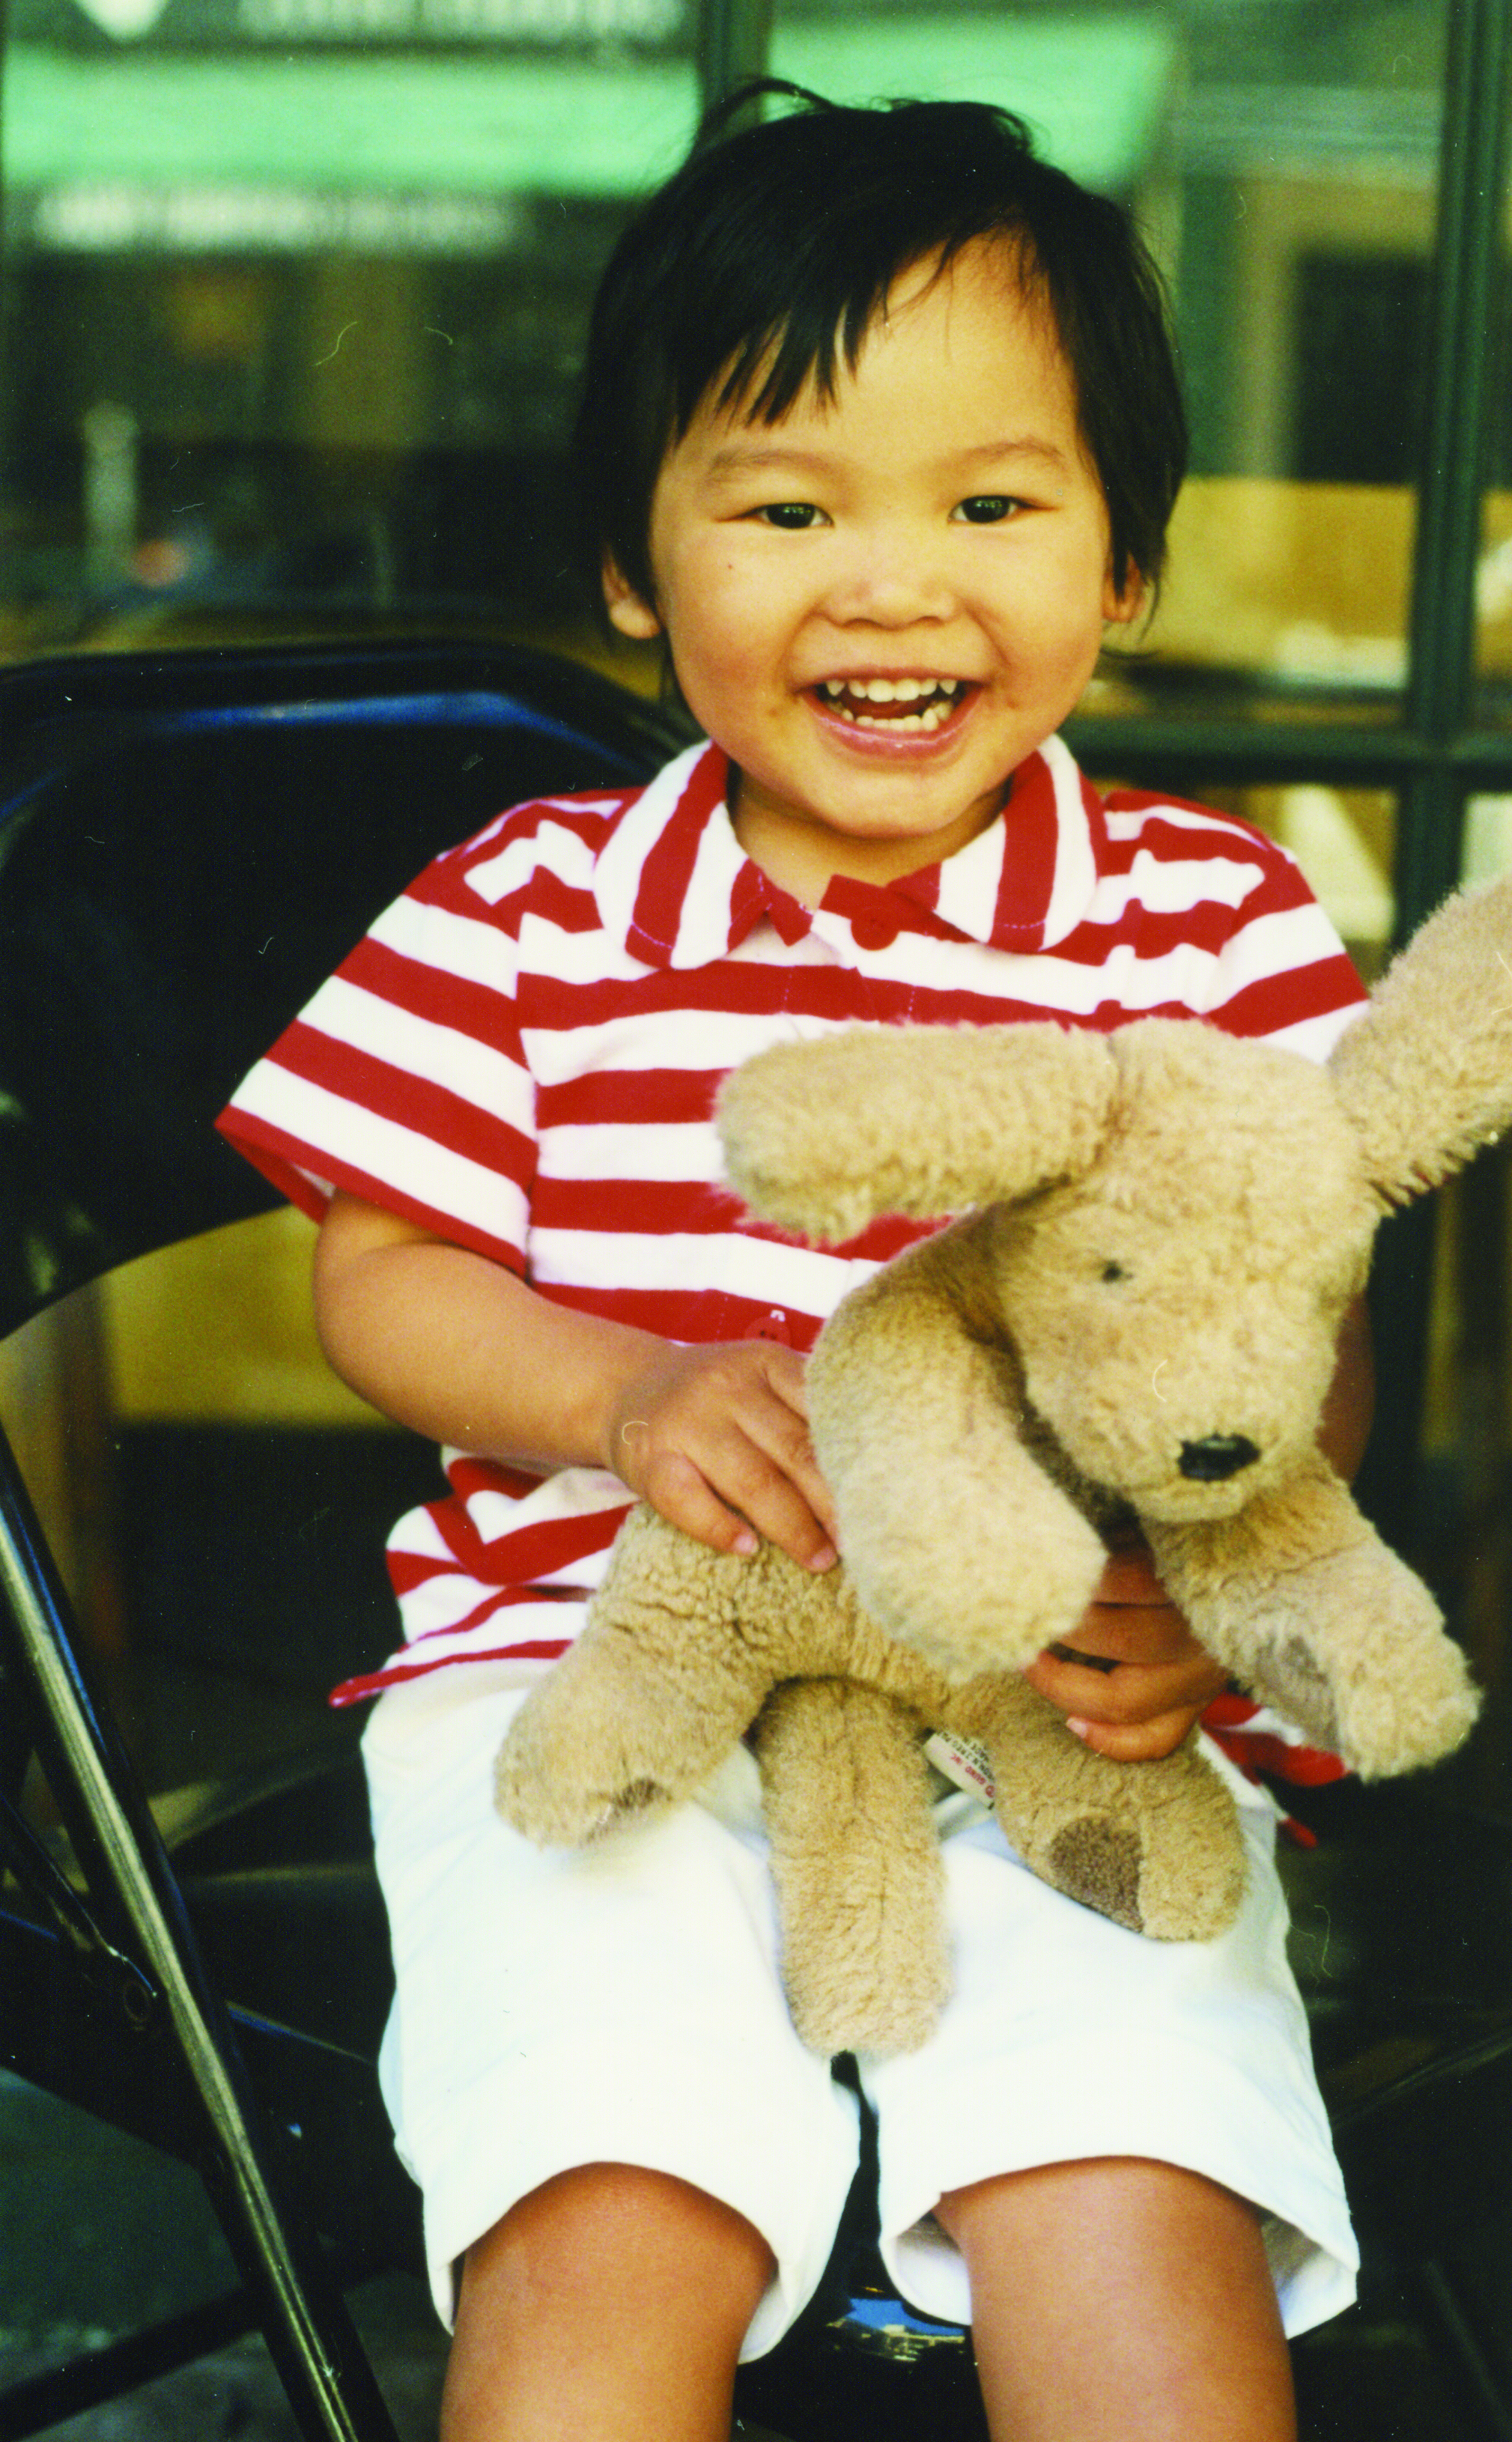
Capture important (and not-so-important) firsts. When your child loses a tooth, goes down the slide all by himself, or tries his first bite of ice cream, take a picture. There are so many firsts in our children’s lives, and capturing these events will help your child remember them later on.(see picture 1)
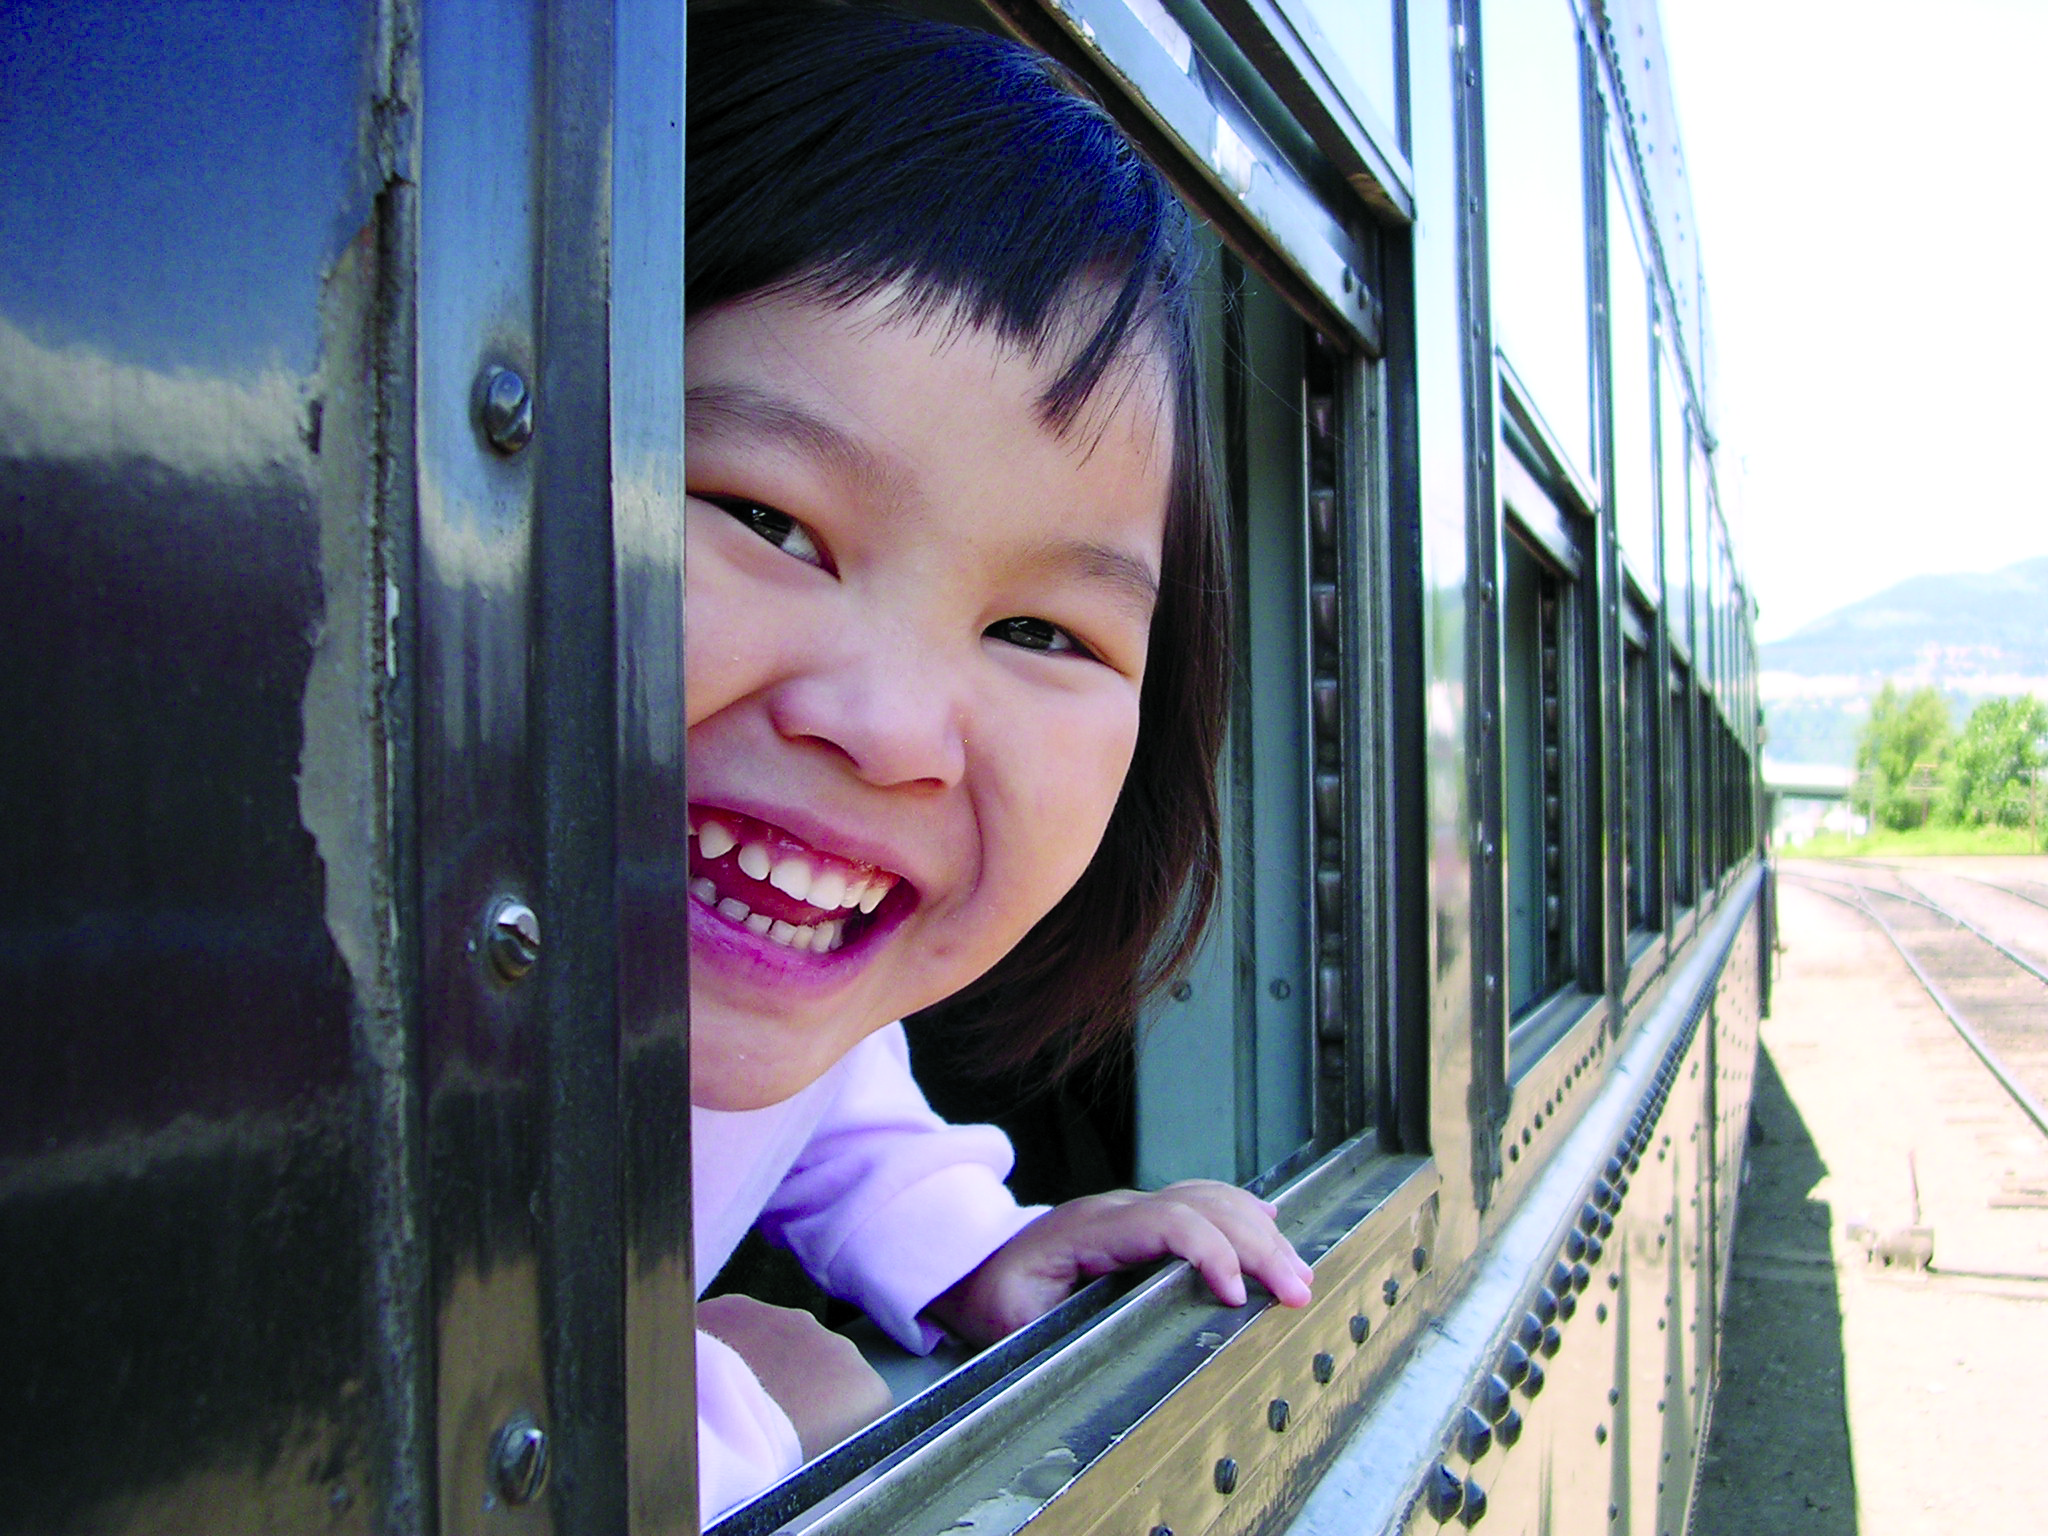
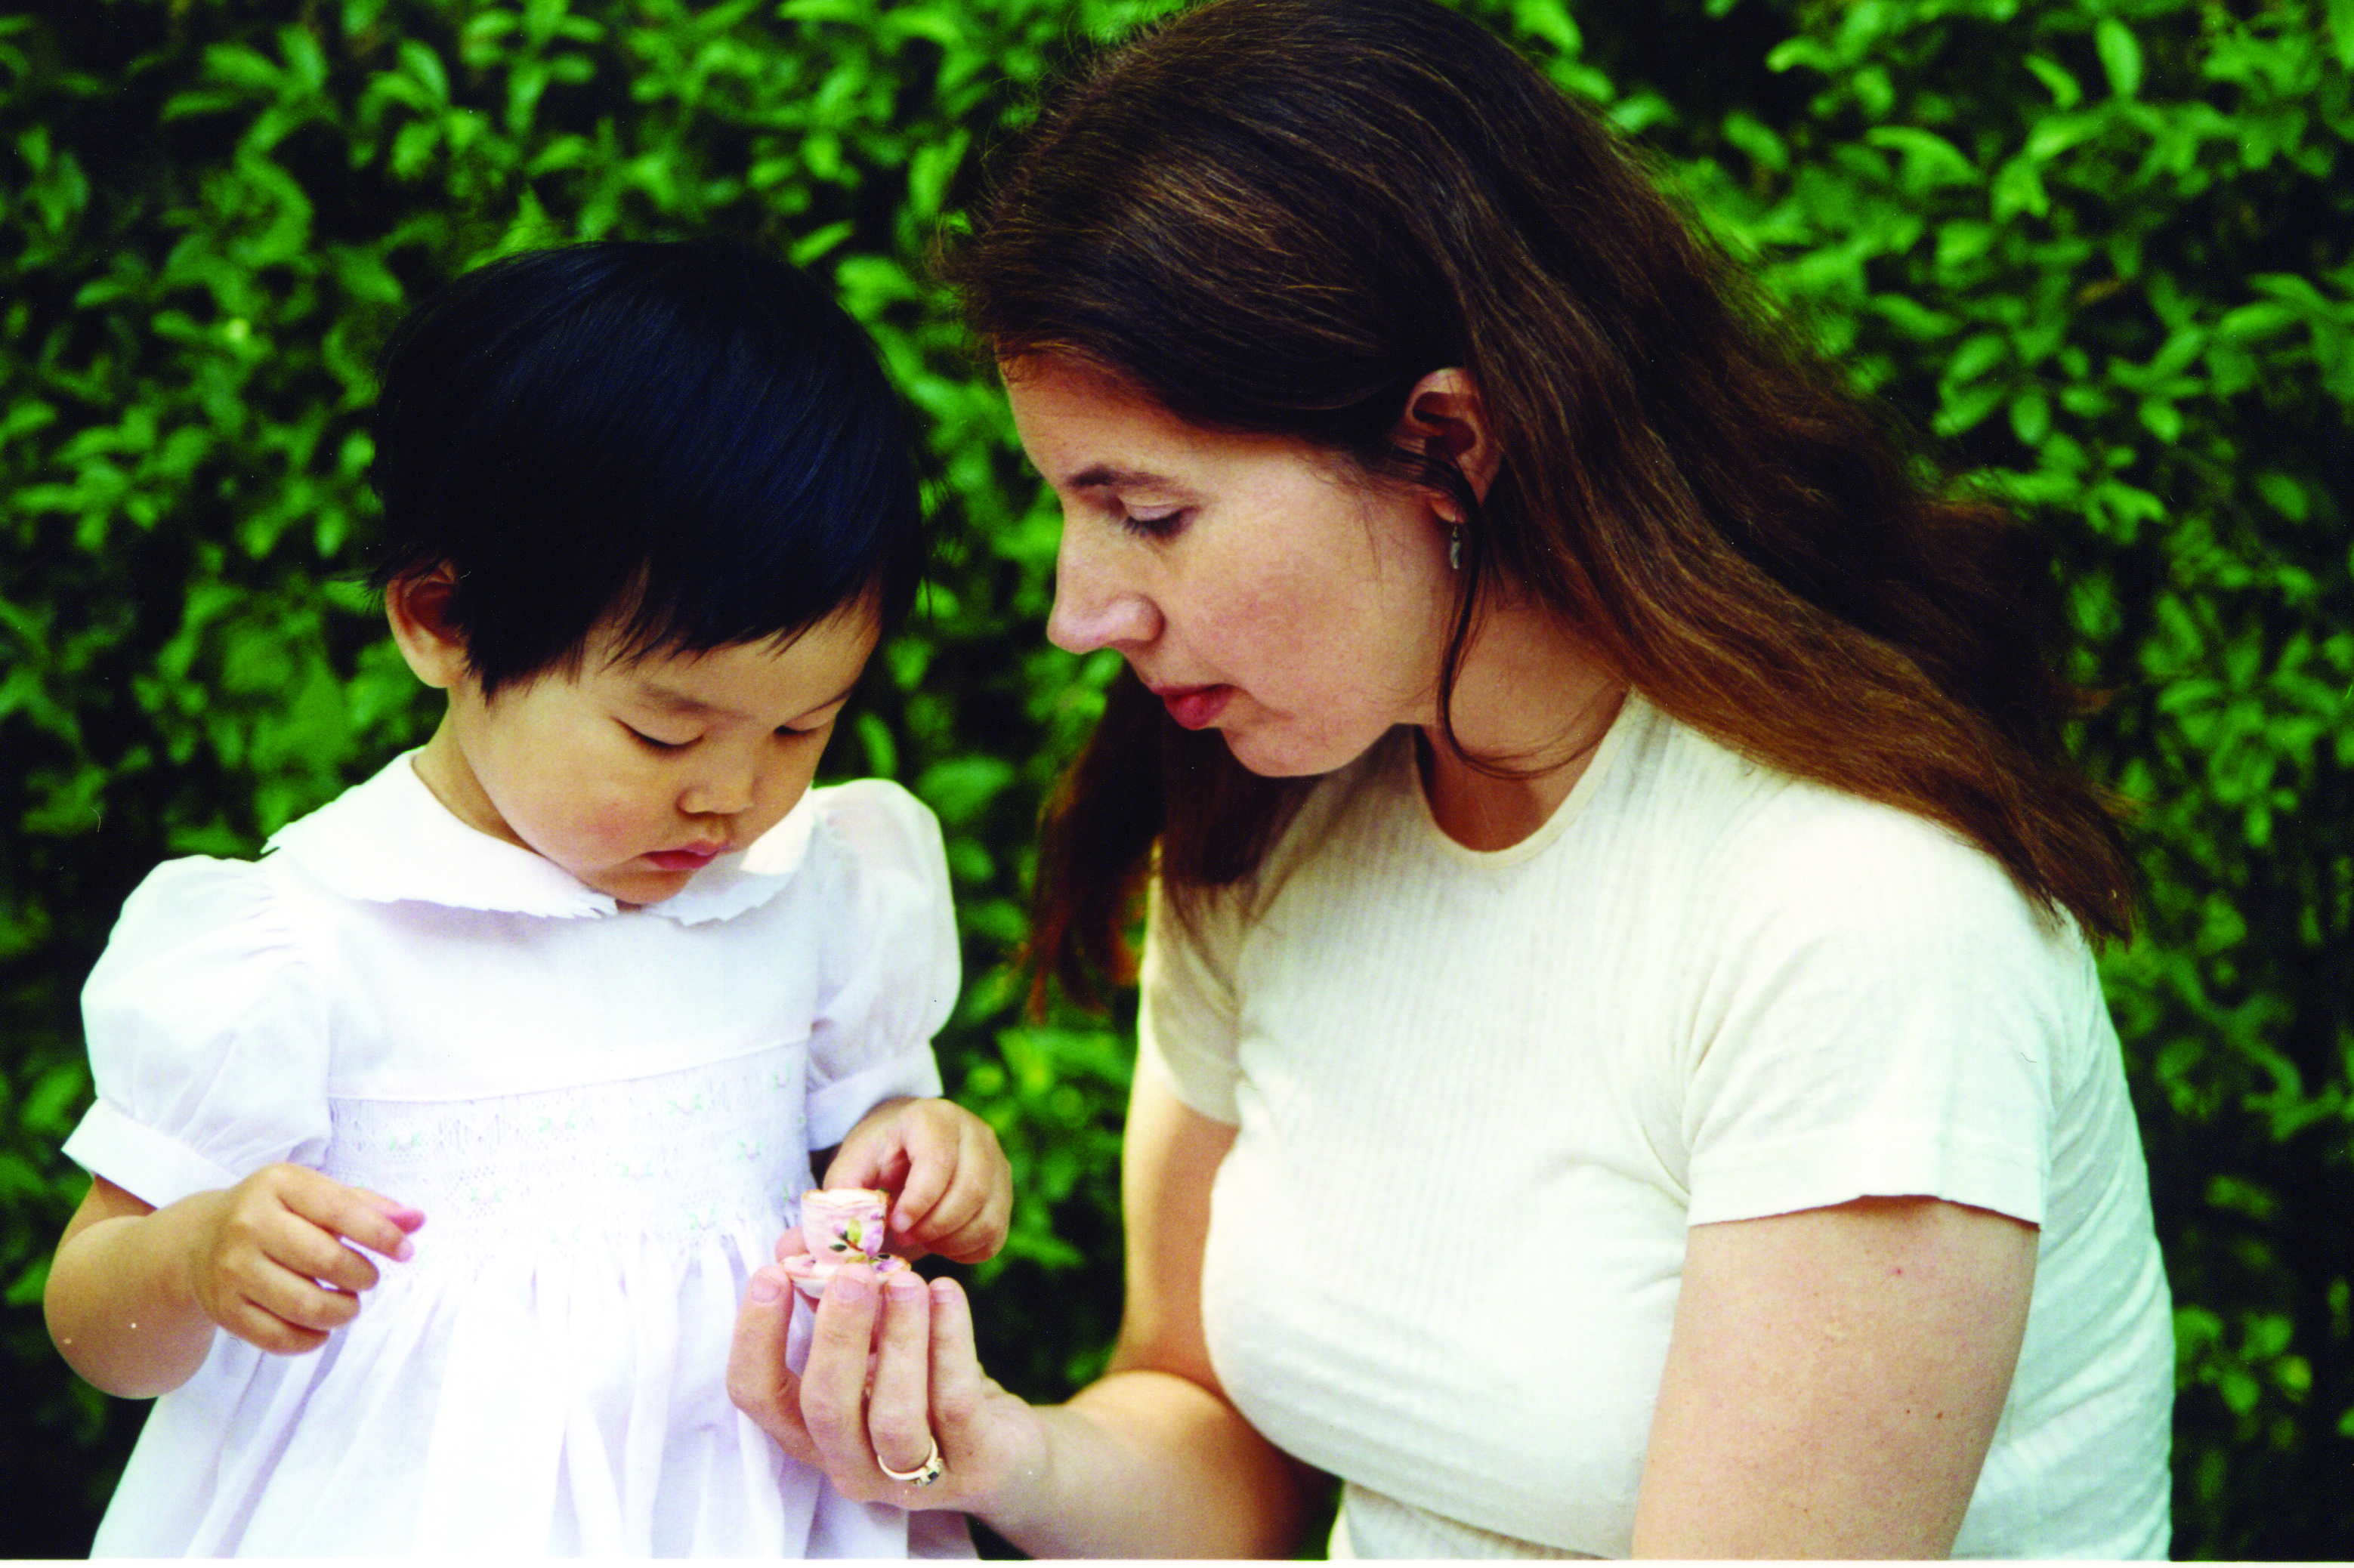
Take pictures from your child’s point of view. If he’s climbing an apple tree, get as close as you can, to capture what he’s experiencing. Watch his expressions — if he’s painting on an easel, get close enough to capture his face and the scene. (see picture 2)
Give each child a chance to shine. Many parents get into the habit of saying, “It’s picture time, everyone crowd around.” The resulting pictures often show off one dazzling face — and several half-smiling or blurred expressions. At gatherings like birthday parties, snap an individual shot of each child present. Make copies to send to the parents.
Get the group together. If you must have that group shot, the hardest part can be getting exuberant children to sit still. I’ve found the best group photos to be those taken after the kids have done something active.
Sit everybody in front of a tree, get down to their eye level, and take some pictures. Chances are, you’ll have a few that you’ll want to keep.
Revisit a garden annually. Every year I take our kids to a tulip festival nearby and snap their pictures, together and separately, among the brightly colored flowers. This setting gives me perspective on how much they have grown, and I now have a lovely collection of photos going back six years, some with red tulips in the background, some with yellow.
Get in on the action. If you’re the primary photographer in the family, get someone else to take several shots, so you can be in some pictures, too.
Be unobtrusive. If my three-year-old is doing something by herself (reading a book, playing with a puppet), she will immediately stop when she sees me coming with a camera. So I try to be sneaky, keeping the camera out of sight (turned on and focused), and pull it out for the two seconds it takes to get the picture without interrupting the play.
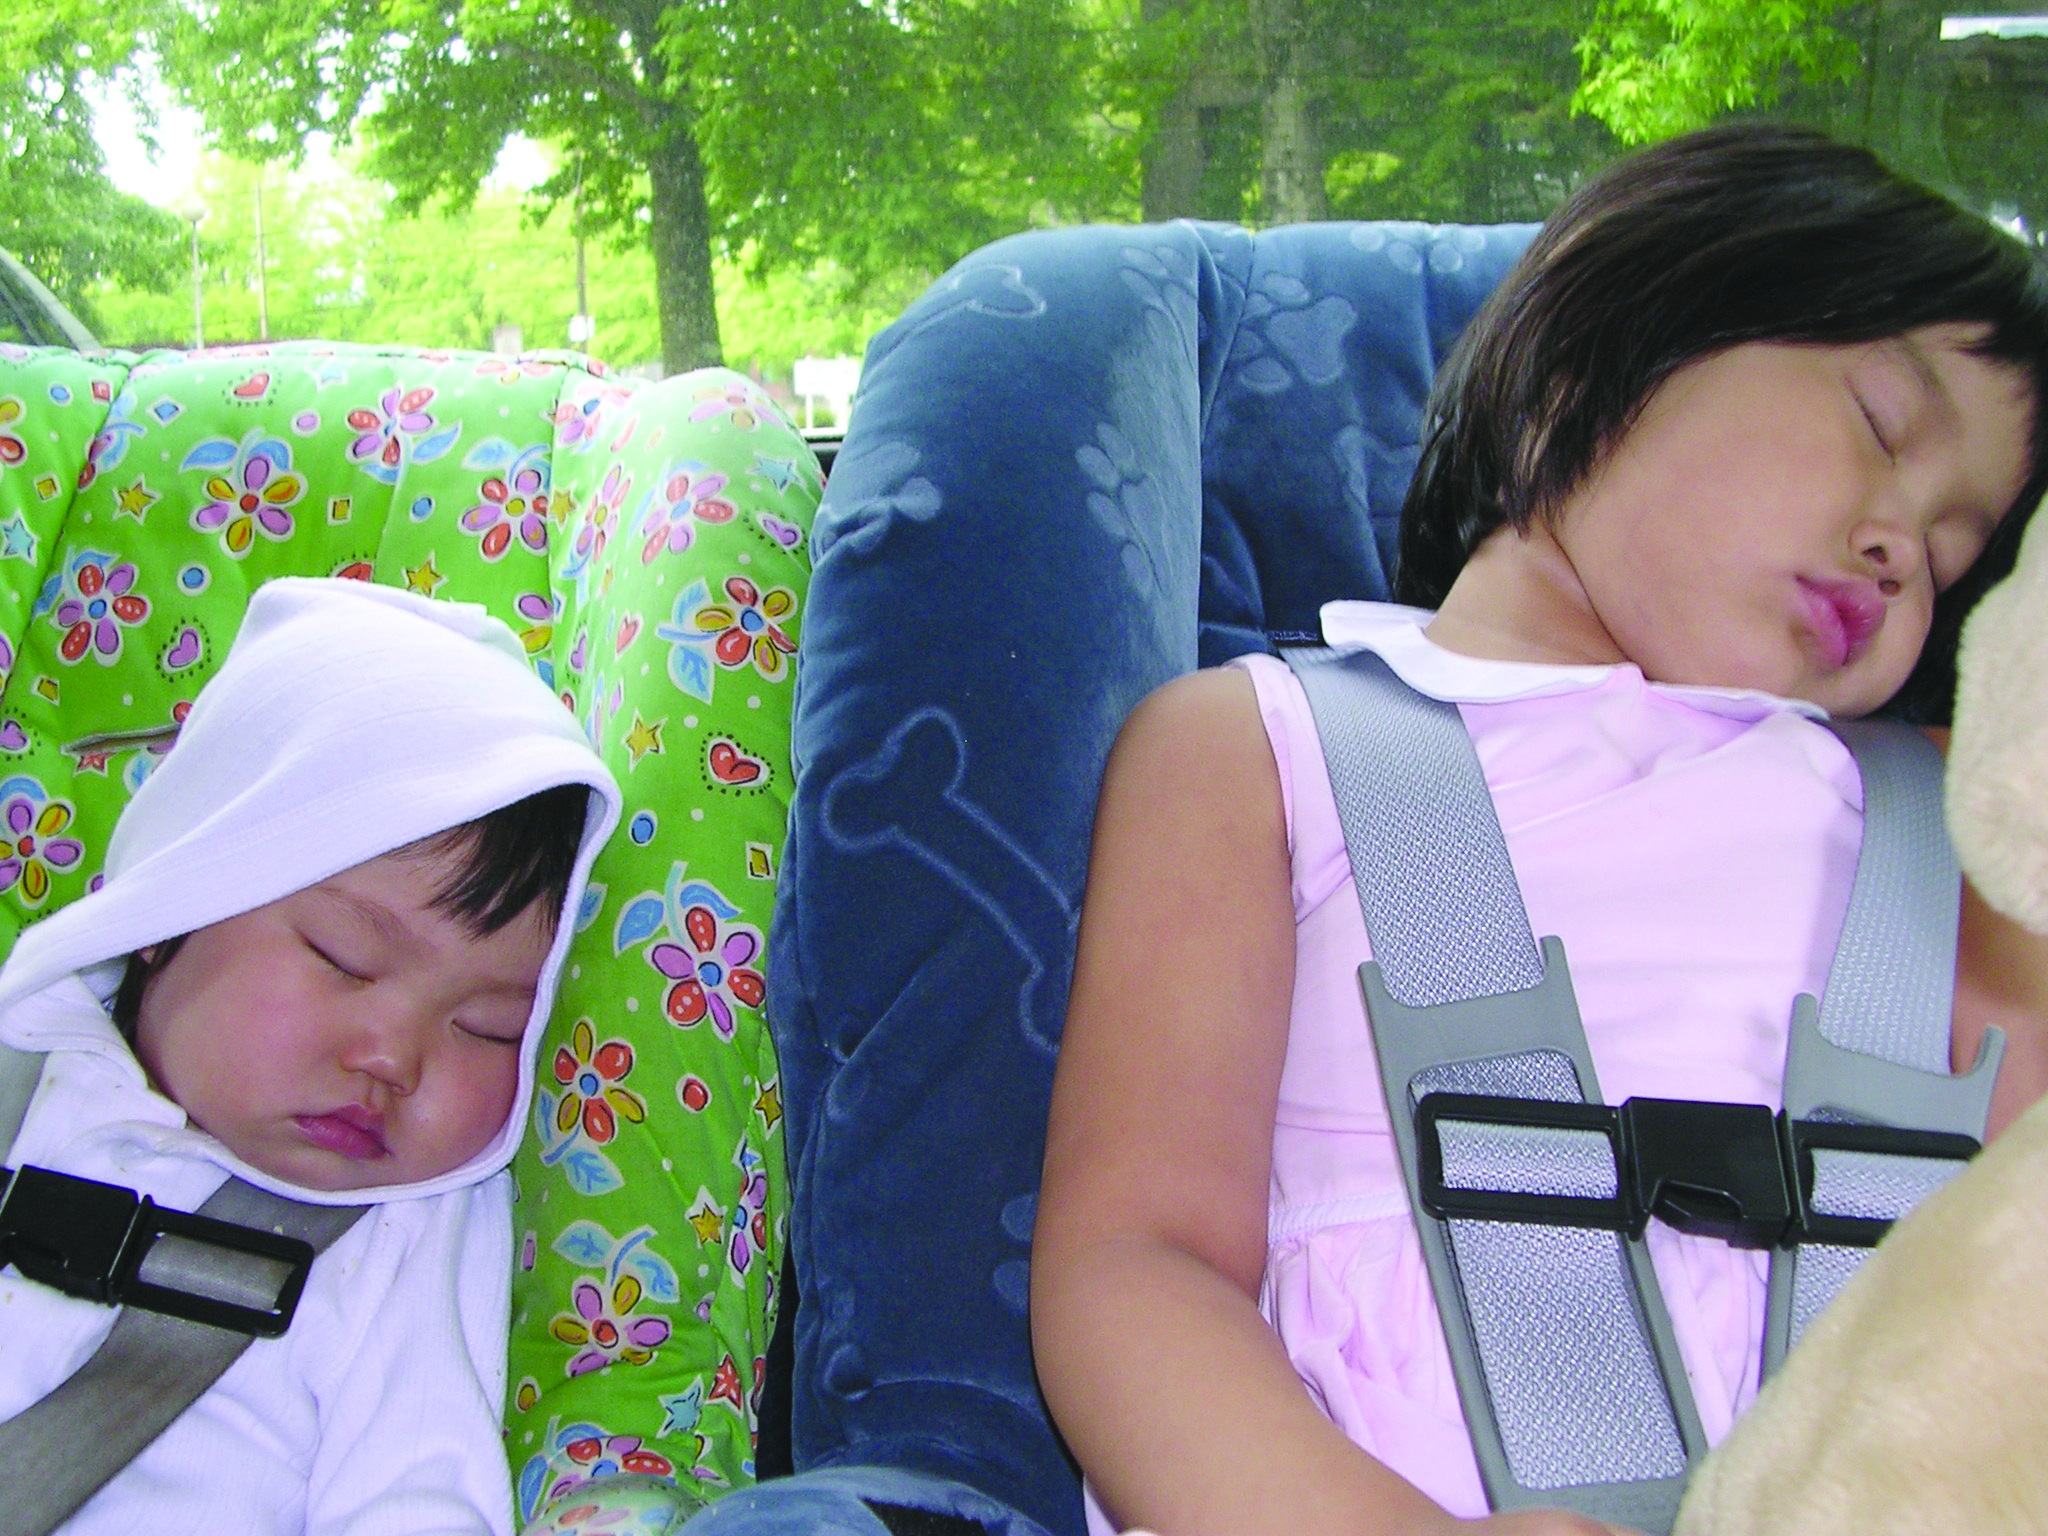
Take pictures of your children sleeping. Nothing looks quite as peaceful as your children lost in dreams. (see picture 3)
Go for the decisive moment. Take a few shots until you get the one you really want — your husband tossing your child in the air, with your subject airborne and smiling.
Be ready to capture joy. Have a camera with you on walks, at the park, at the store, in case something wonderful happens.
Have a sense of humor! Your child is bound to do something silly — catch it!
How to Shoot
Find the right background. Interesting locations make for interesting portraits. Scout around your house, backyard, and neighborhood for great settings. Look for simple, picturesque backgrounds with a spot for your subject to sit or play.
See the light. Light is the biggest variable (with the possible exception of a changeable child) in any photo setting, and it can dramatically affect the mood of the shot. Candlelight is nostalgic, twilight is restful, and mid-afternoon sun is active. The old masters called the late afternoon, when the sun hangs low in the sky and casts long shadows behind everything its luminous light touches, “the golden hour.” Try taking some photos during this time.
Notice how indoor light changes during the day. At our house, light is full and fresh through the front window just after sun-up. We have struggled out of bed, on occasion, to take pictures of our kids in this beautiful light, when they’re just up and ready for a new day.
With a digital camera, you have the opportunity to review your pictures on the spot. If the foreground (with your beautiful daughter’s face) is too dark (underexposed), you can open your camera’s f setting 1.5 to 2 stops to correct it. If that doesn’t work, use a flash to fill in the shadows.
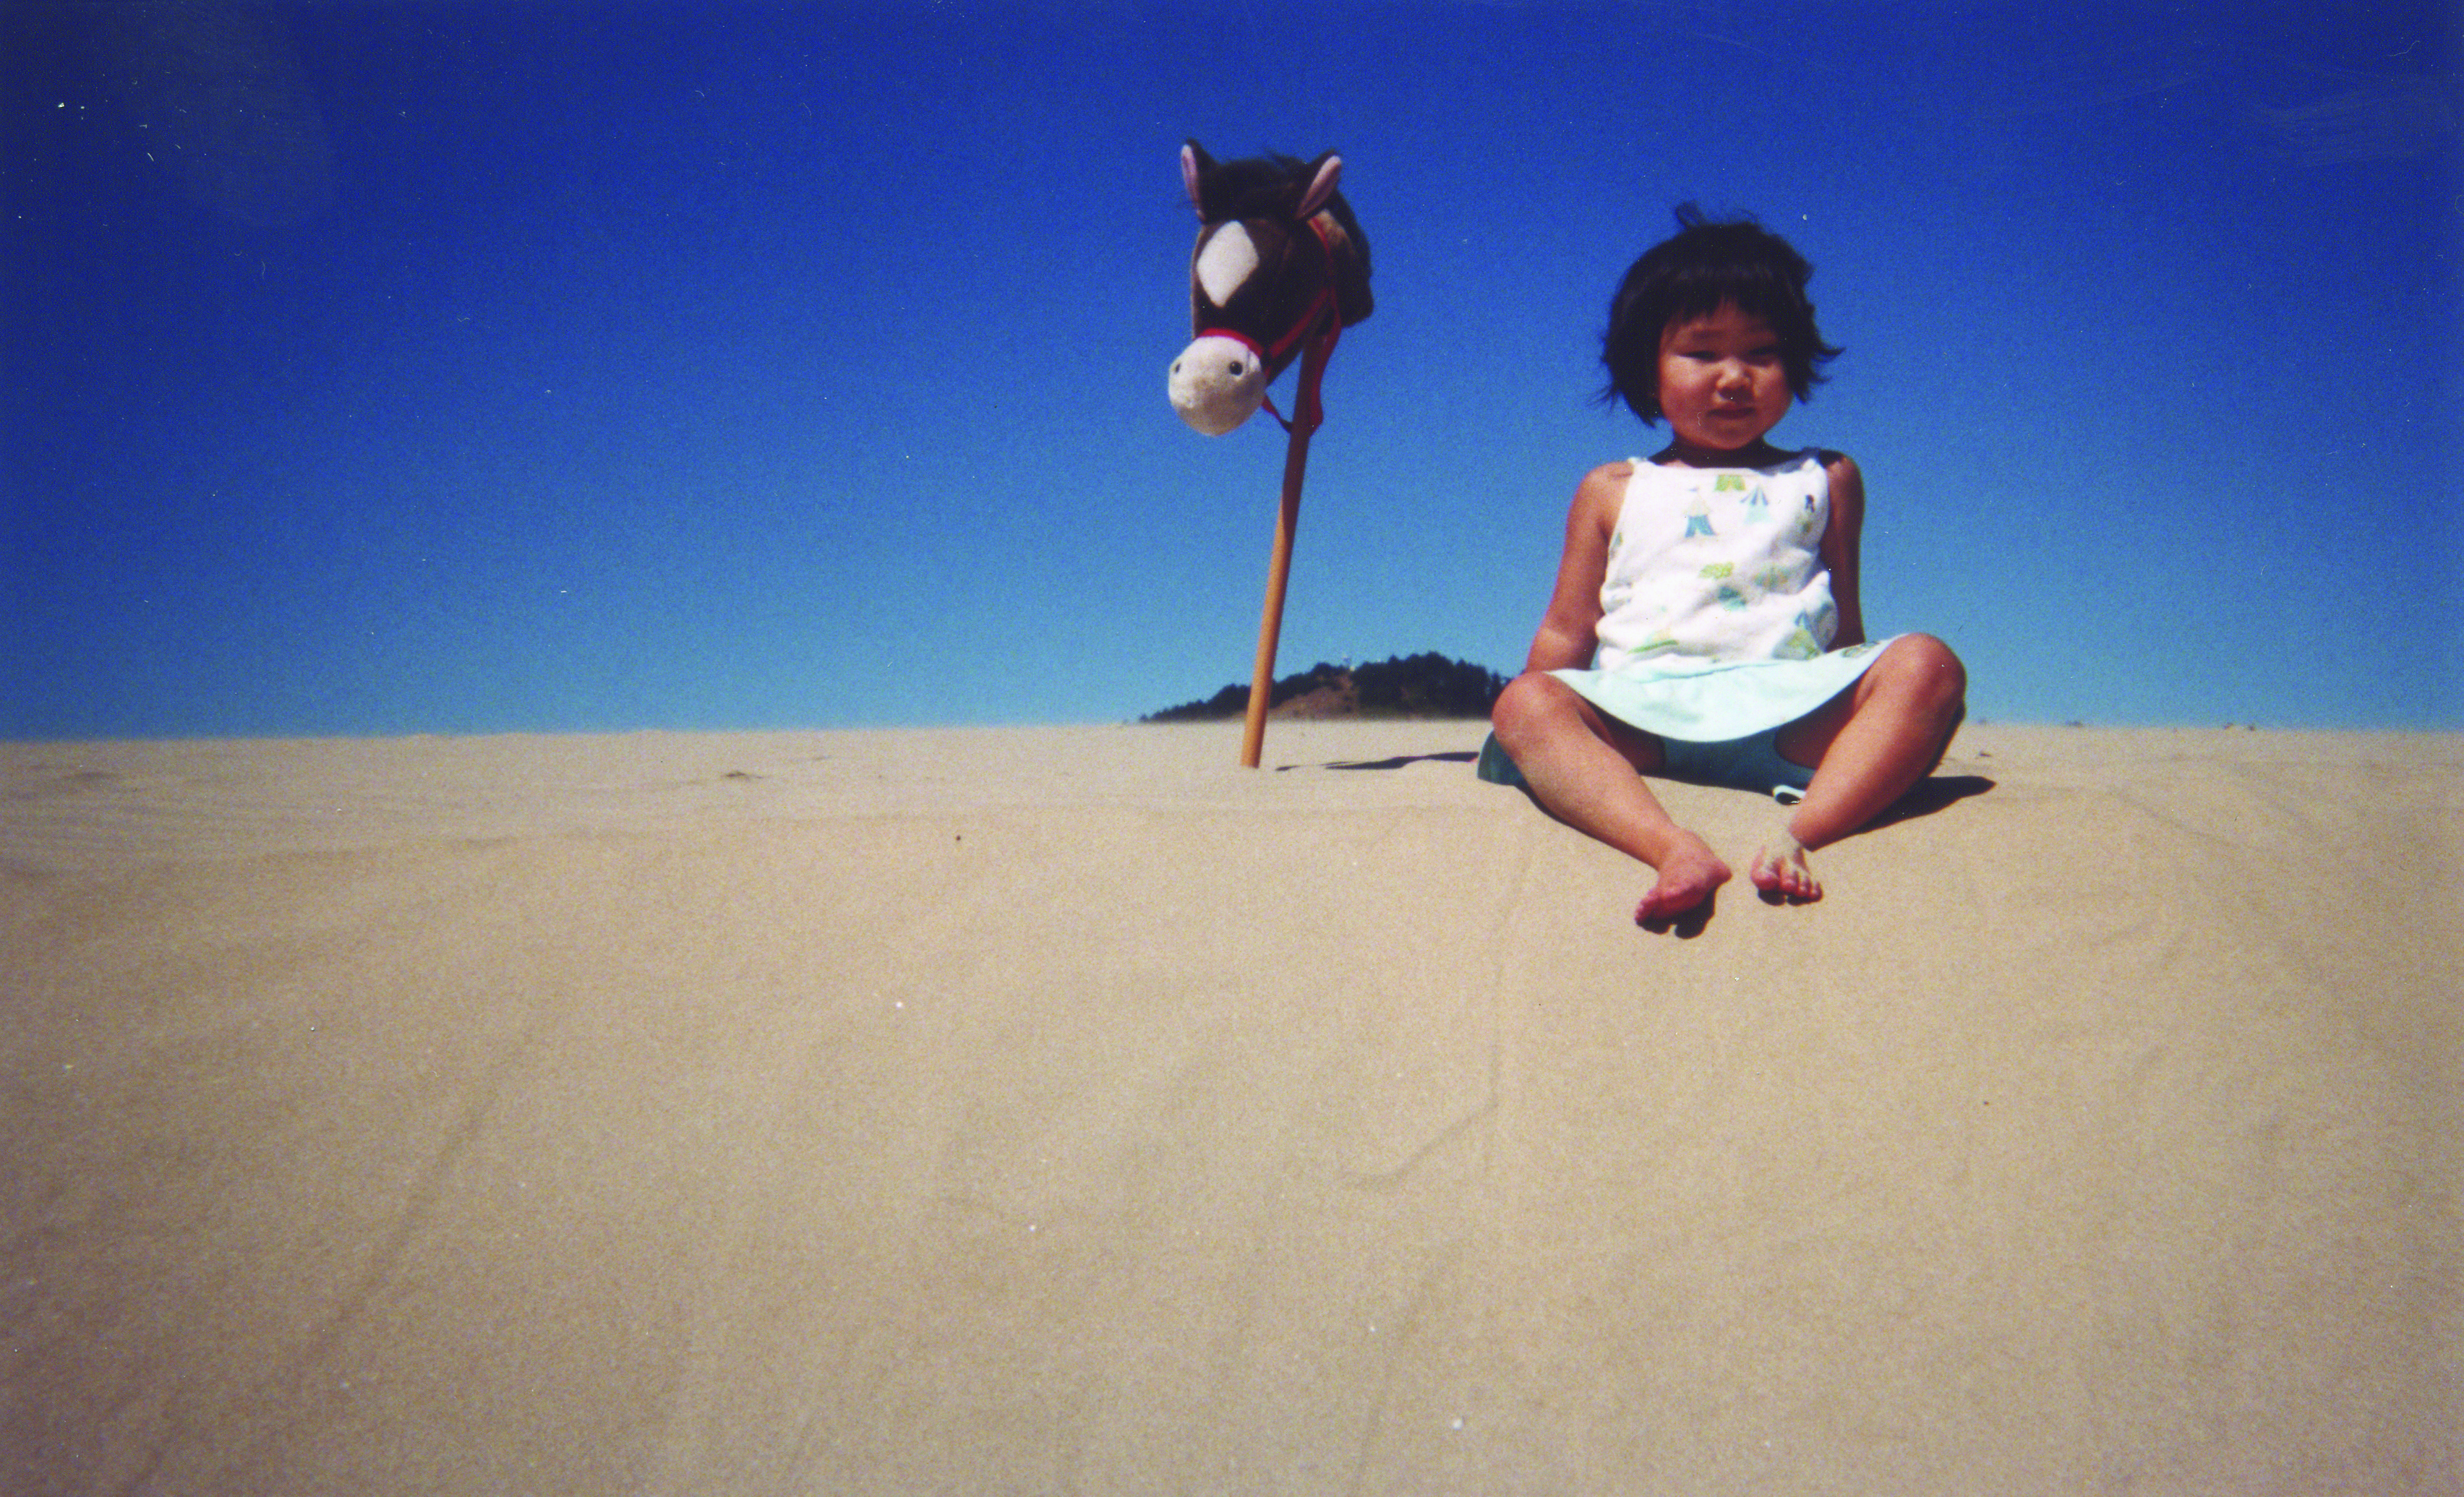
Think about composition. Before turning on the camera, look around you. Is there a simple background that can bring out the personality of your child? Can you use objects to frame the picture — the slide or swing at the playground or the shopping cart he is riding in? (see picture 4)
Good composition will make your photos memorable.
Skip the poses. Posing a child tends to drain the energy from a shoot. It’s OK to ask a child to look in a certain direction, but, when he does so, snap the shutter and move on.
Give them something to smile about. When photographing young children, you can ensure smiles and giggles by “pulling a rabbit out of your hat.” Have a small stuffed animal hidden behind your back, and pull it out just before snapping the shutter.
Vary your shooting angles. Don’t stay put. Get down on your child’s level, then capture images from a standing position to get a different perspective on the scene. (see picture 5)
Squeeze the trigger. Squeezing the button halfway down fixes the focus and exposure. Gently push further to take the picture. If you “snap” a picture by pressing down too quickly, you risk blurry photos and/or poor composition due to a digital camera’s lag time.
Experiment with different modes offered by your camera. Take note of changes in depth of field, light balance, flash, contrast, and other elements when you switch the camera from its auto setting. For instance, the “portrait” mode may offer a shallower depth of field, which means that the background will be thrown out of focus to enhance the subject.
Use focal length to your advantage. All digital cameras have some sort of zoom capability. We usually zoom out to the widest setting when indoors, because the subject is close, and zoom in all the way outdoors because our subject is further away. When taking portraits of your children, try setting the zoom in just a bit, so the view isn’t wide-angle, but isn’t full-zoom, either. This eliminates some of the background and also lessens image distortion caused by a wide angle’s forced perspective.
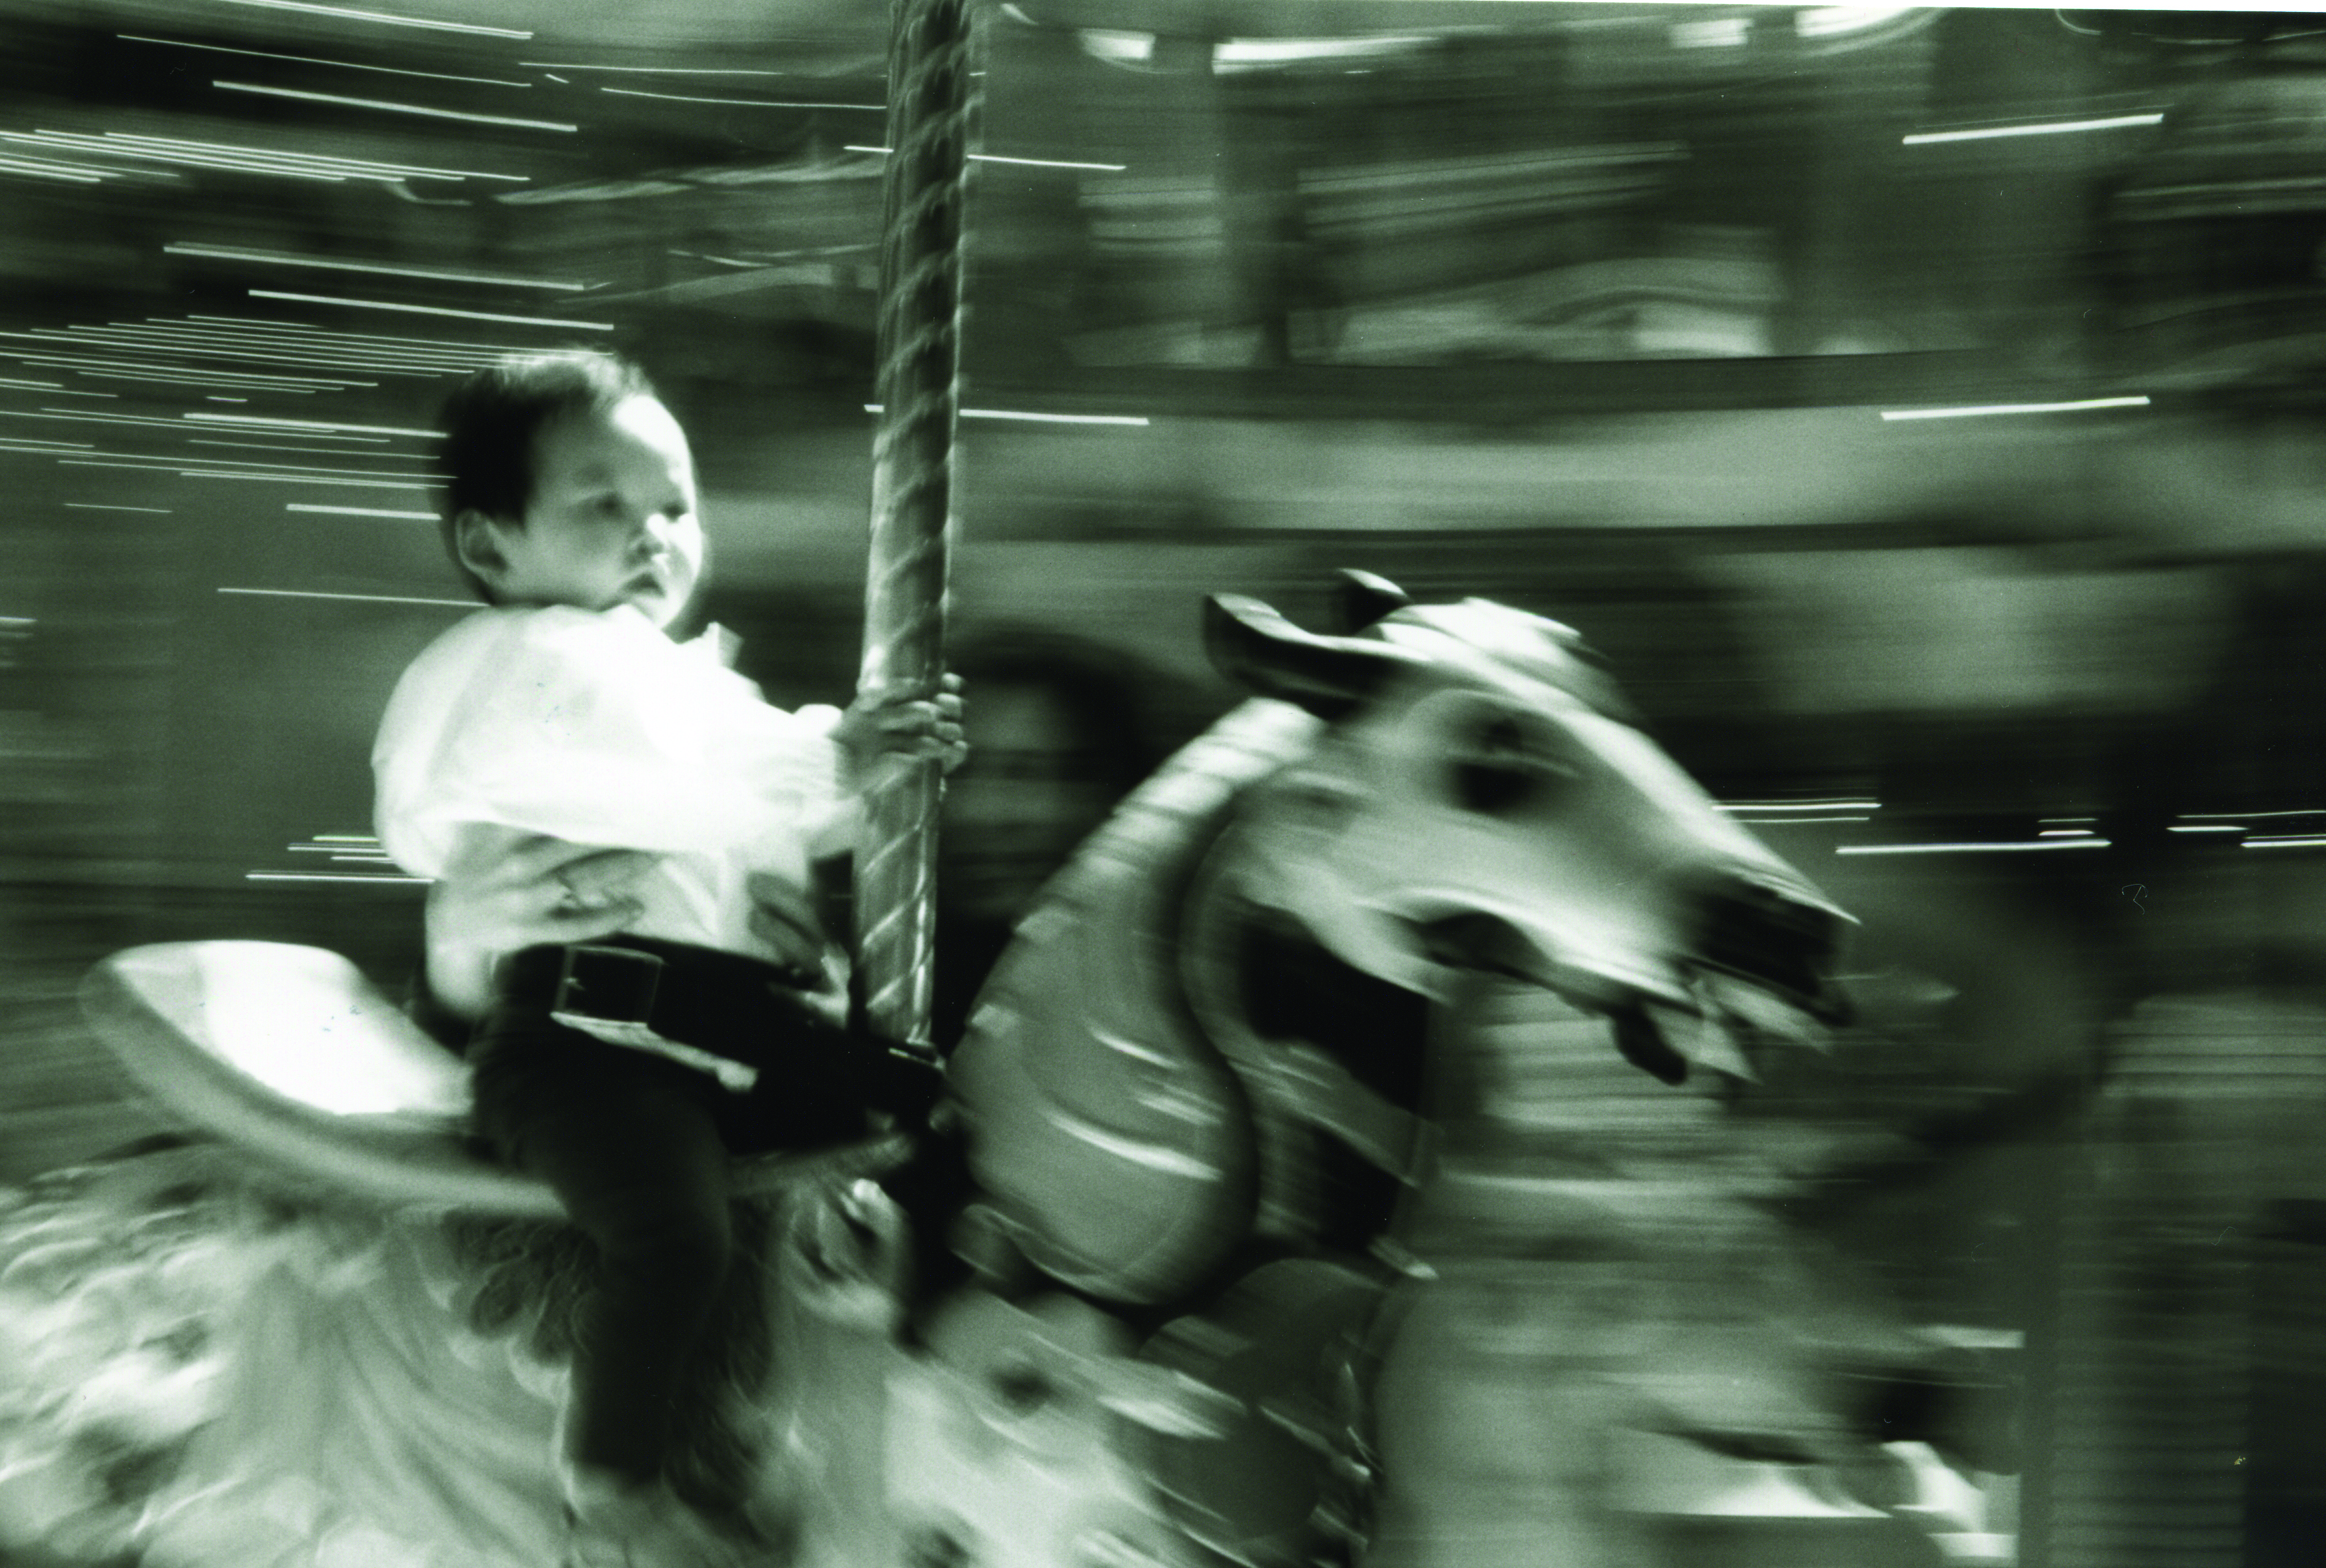
Try a trick shot. Panning with the action at a slow shutter speed can create a cool effect: an image that isolates your child’s expressive reaction amid a swirl of colors and shapes. If you are using a digital camera, you may have to pull out the instruction manual and scroll through a series of menus to find the shutter speed you want. (see picture 6)
A good place to start is at a shutter speed of 1/8 or 1/4 of a second. Follow the action as you take the photograph. This technique works well for shots at soccer games and for pictures of your kids using playground equipment, like slides and swings, or riding a merry-go-round.
Always be ready. Kids move fast. Keep an eye out for that fleeting expression, and be ready to capture it. For instance, you may see your child tying her shoe or brushing her hair. If you are unobtrusive, you may be able to capture that moment.