How to Photograph Your Adoption Trip
Few events surpass the joy of welcoming a new child into the family. With a little forethought, the photographs and videos of your adoption trip can preserve important moments in all their emotional intensity and visual splendor. The key is to look through your viewfinder as both an adoring parent (Ann) and a skilled photographer (Mark).
Ann’s View: Capturing Memories
Record life before baby. You might want to take pictures of the baby’s room. Get shots of yourselves getting ready to leave for your trip—packing, shopping, toasting the new baby’s referral picture. Record the planes you took, the airports you went through. It all adds up to the story of getting your baby.
Practice. If there are two parents, both should learn to use the camera. We have seen too many instances where the husband, or the wife, takes the video or all of the stills, and there is no documentation of the other parent interacting with the child. Single parents should enlist the help of a travel mate.
See the experience through your child’s eyes. When your child is older, what will he or she want to see of the place where he or she was born? When children are small, they will want the particulars of the trip itself: What airplane did you take? What did the hotel room look like? In a domestic adoption, the child will likely want to know what the hospital looked like—or the lawyer’s office where the papers were signed. Go ahead and document what might seem inconsequential to you at the time.
[Instant eBook: Adopting a Newborn in the U.S.]
Move. It is much more interesting to see video of someone doing something—picking up baby, putting sweater on baby, bathing baby, even just holding baby and rocking. Use video as more than just a way to take another still picture.
Focus on the baby. Do not take video of someone giving a speech, such as a tour bus guide or museum docent. You will not want to hear it again, and you will be able to find the information later in books or brochures. You’ll want shots of yourselves in the hotel room, or out eating, or in places where you can get a feel for what your child was like at that time in his or her life.
Get pictures of all of you. The best footage will be of you together as a family—unscripted, documentary style. Have someone from your travel group take video of everybody—Mom, Dad, and baby. Then, reciprocate. Get footage in your hotel room, playing with the baby, feeding the baby, singing to the baby. Have the videographer stand in one place, hold the camera still—no zooming—with everyone in the shot at once.
Remember to record your feelings and thoughts in the moment. Adoptions often come after years of anticipation. Now that the moment is here, say how you feel—for your child to hear later on. Address the camera.
Get outside. Take video and stills of your baby outside. The light is much better. Find an outdoor spot (weather permitting), place your child on a table with you holding her, and let her interact with you.
Get pictures of everyday life. Explore your child’s birth city. Take a few hours and document what the shops look like, the taxis, the food vendors on the street. What kinds of plants grow there? What does the downtown look like? What is the street life like?
Don’t walk while shooting video. If you are touring with a group, it is better to stand apart from them, pan the scene, then rejoin the group. Looking at footage shot while walking will make you nauseous.
Document your child’s first caretakers. As your child grows, she will want to know about her life before you were a family. If he or she was in foster care, be sure to have pictures and video of him or her with the foster family. If you visit the orphanage, take pictures of the workers there. If your child was born in a domestic hospital, take photos of the maternity ward, the front of the hospital, and the nurses who cared for your child.
Don’t expect too much of your welcome home. It is nice to have friends and family waiting at the airport, but it can be distressing to the child to have too much stimulation. There are better times to get pictures of your new child with relatives.
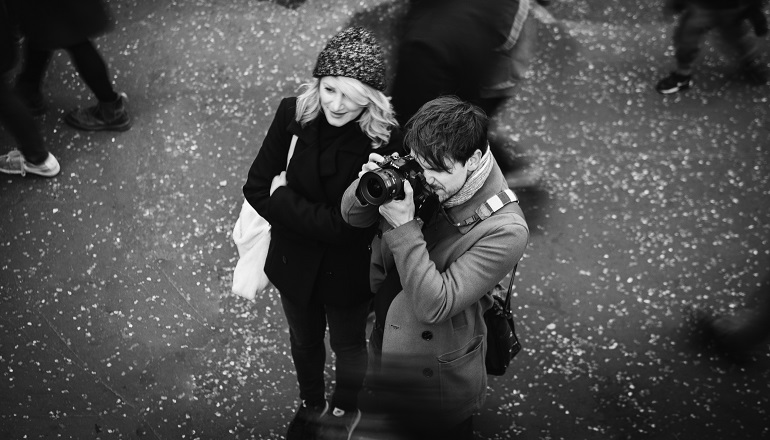
Mark’s View: The Technical Side
Prepare your equipment in advance. Make sure your camera is working properly, or that you’ve cleared enough memory on your phone. Familiarize yourself with the basic operations and filters.
Make a shot list. Make a list of things you want pictures or footage of—receiving the child, the caretakers, the orphanage or hospital, signing the adoption papers, private moments with baby. Here’s a list of suggestions:
- Leaving home. Your life will be totally different after coming home with your child even if this is not your first child. Take pictures of the nursery, you at the airport, the planes you took to get to your destination.
- The moment you receive your child. Both of you with the baby if there are two parents.
- Official paperwork sessions. Sometimes these happen in a notary’s office, or judge’s chamber, sometimes in a lawyer’s office. Even if the setting isn’t photogenic, it is important for your child’s sake to document. It will help fill in the blanks when explaining the adoption process later.
- Lots of spontaneous moments with your child. As much footage/pictures as you can take! Inside as well as outside.
- Pictures with others you traveled with. At the time, it might seems that you don’t have much in common with others in your travel group, but that may change as your child grows older and wants to know other children who were born in the same place she/he was.
- Your child’s caretakers. If your child was in foster care, get pictures, or better yet, footage of the foster family. Have them speak in their native language with use of a your guide, if you have one. You can always get their comments translated after you return home. If your child was in an orphanage, get pictures of the caretakers there if at all possible.
- Unless your child is sick, or you on a very tight schedule, get out as much as possible to see the sights in your child’s birth city. Take pictures and footage of parks, street vendors, shopping malls, restaurants, everything you can think of to explain what life is like for most people there.
- Homecoming. Your child might be overwhelmed, or overtired upon returning, so don’t have big expectations for pictures of your homecoming. Have friends and family visit over time, and take pictures then.
Keep a camera with you at all times. Many things your child is experiencing are brand new; catch the moments of recognition, every tear and every laugh. Get in close for intimacy. Move away to capture hubbub and activity.
Take close-ups. Eliminate background and focus on your child’s face, hands, smile, shining eyes. Know the focus range of your camera to be sure that the pictures will stay sharp when you get close.
Capture the whole scene. If your group is visiting a museum, for instance, in addition to artwork, show passersby, members of your travel group, and well-wishers, all with your baby.
Keep it simple. Simple compositions make the best pictures. Choose a plain background to eliminate distractions and allow the focus to be on the child and parent. Try to keep people evenly lighted. A field of grass or glassy lake might be just the right background.
Keep a steady hand. Hold the camera with both hands. You can make your body into a kind of tripod, resting your elbows against your sides to lessen camera shake.
Be patient. If you are videoing something you are anticipating, such as having your child brought to you, try to remain calm and keep your camera steady. Don’t use down time to tape from your hotel window or wander the halls. These scenes can wait. When your baby does arrive, you may be so distracted that you’ll start shooting wildly around the room and miss the important first moments.
Think about lighting. Overcast days are good for pictures. People look best in soft, even light, and the light from high clouds is often just that.
Use a flash outdoors. In bright light or fading daylight, a flash can work wonders to saturate color and fill harsh shadows.
Off-center can be interesting. When composing your shot, try moving the camera so Mom, Dad, or baby is to one side of the camera lens. This way, you’ll get some of the background of your child’s birth country or birth city in the shot.
Watch out for the elements. Do not take your camera out in rainy or sandy conditions. The electronics are sturdy to a point, but water can quickly create problems.
Use the lens shade. Most video cameras come with a lens shade of some kind. Using it will keep glare out of the shot and protect the lens. A UV filter gives you added protection from scratches and thumbprints.
Be spontaneous. Wander around your child’s hometown alone, and when you see an interesting moment unfolding, quietly pick up your camera and shoot a few frames. If your subject doesn’t notice you and stays engrossed in the activity, you will be rewarded with exceptional images.